
The Maze Book
It’s A-maze-ing!
(Please note that the original directions came from
Trice Morris as seen on Craft TV Weekly)
To create an amazeing miniature book using a single sheet of 12" X 12" cardstock for your inner pages. All it takes is a little bit of folding, three simple cuts, some good gluing techniques and the basic book is ready for photos and embellishments. This mini album makes a great gift or a pocket-sized scrapbook to show off those special photos.


Supplies:
Adhesive – I prefer Liquid Adhesive (I used Aleene’s Quick Dry Tacky Glue)
12” X 12” Cardstock, one sheet
2 pieces - 4 1/4" X 4 1/4" Pattern Paper or Cardstock
2 pieces- 3 1/4" X 3 1/4" Chipboard or Mat Board Squares
1/4" Ribbon, 12” long ( you can use trim like I did)


Trimmer
Bone Folder
Ruler
Binder Clip
Scissors or Craft Knife & Cutting Mat (needed only if using craft knife)
Foam Brush or your handy dandy Finger (keep damp paper towel nearby for clean- up)
Score board (if you have one but not needed)
Directions: Creating your Maze (inner pages):
You can use a score board for this part. If you do not have a score board then follow the easy instructions below.
Using your score board – place your cardstock on the board and score at 3”, 6" & 9”. Then turn your cardstock and repeat. You should have 16 squares that measure 3”x3” each.


Creating inner page without a score board –
Step 1: Fold a sheet of Cardstock in half. Use a bone folder to reinforce the fold.

Step 2 & 3: Fold each free edge of the cardstock back to the center fold.


Step 4: Your cardstock piece should now resemble the letter “M” or “W”. Reinforce the folds with the bone folder. Open the cardstock up. Turn your paper from Horizontal to Vertical.

Repeat the steps 1 - 4. Reinforce the folds with the bone folder. Open up the cardstock. The folds have now created sixteen squares that measure about 3"x 3" each. (I inked my edges for you to see the lines)

2. Cutting your Maze
Unfold the
cardstock. Use your scissors to cut - start at the top horizontal fold and cut
all the way to the bottom edge.

Make a second
identical cut along the left vertical fold. Make a third cut along the middle
fold, but this time start cutting from the top edge and stop cutting when you
reach the bottom horizontal fold. If using a craft knife and ruler—(place
cardstock on top of a cutting mat. Lay a ruler along the right vertical fold. Using
a craft knife, cut along the right vertical fold using the ruler as a guide.) The cuts in
the cardstock form an “M”.

Now follow
the “maze” to fold the cardstock into the book pages. Start folding the left
leg along the folds. When you reach the top, fold the stack over to the next
leg, following the natural fold. Fold the piece to the bottom following the
existing folds again. When you reach the bottom, fold the stack over to the
next leg. Fold back up the leg. At the top, again fold the stack over to the
next leg. Fold down the leg to complete folding the “maze” pages.


You will notice that where you made your turns in the maze you get three little pockets (well, almost pockets) with a little glue you can make pockets and you can add either more pictures or tags for journaling. See pictures below for glue placement.


You have now
created a pocket. You can make three altogether. 2 top ones and 1 side one. Now use the binder clip the keep your maze
together and set the pages aside.
3. Creating your covers
Step 1:
Make the cover pieces. Squeeze a spiral line of adhesive
onto the center of a 3 1/4" X 3 1/4" piece of mat board. Use a foam
brush to spread the adhesive over the entire surface of the mat board, working
from the center out to the edges. Place the mat board, adhesive side down, onto
the center of a 4 1/4" X 4 1/4" piece of pattern paper. Smooth out
with bone folder.


Step 2:
Create
mitered corners- Begin by
cutting off the corners of the pattern paper, 1/16 of an inch from the corner
of the mat board. Using the bone folder, score the
cardstock along the edges of the mat board. Then fold the cardstock flaps
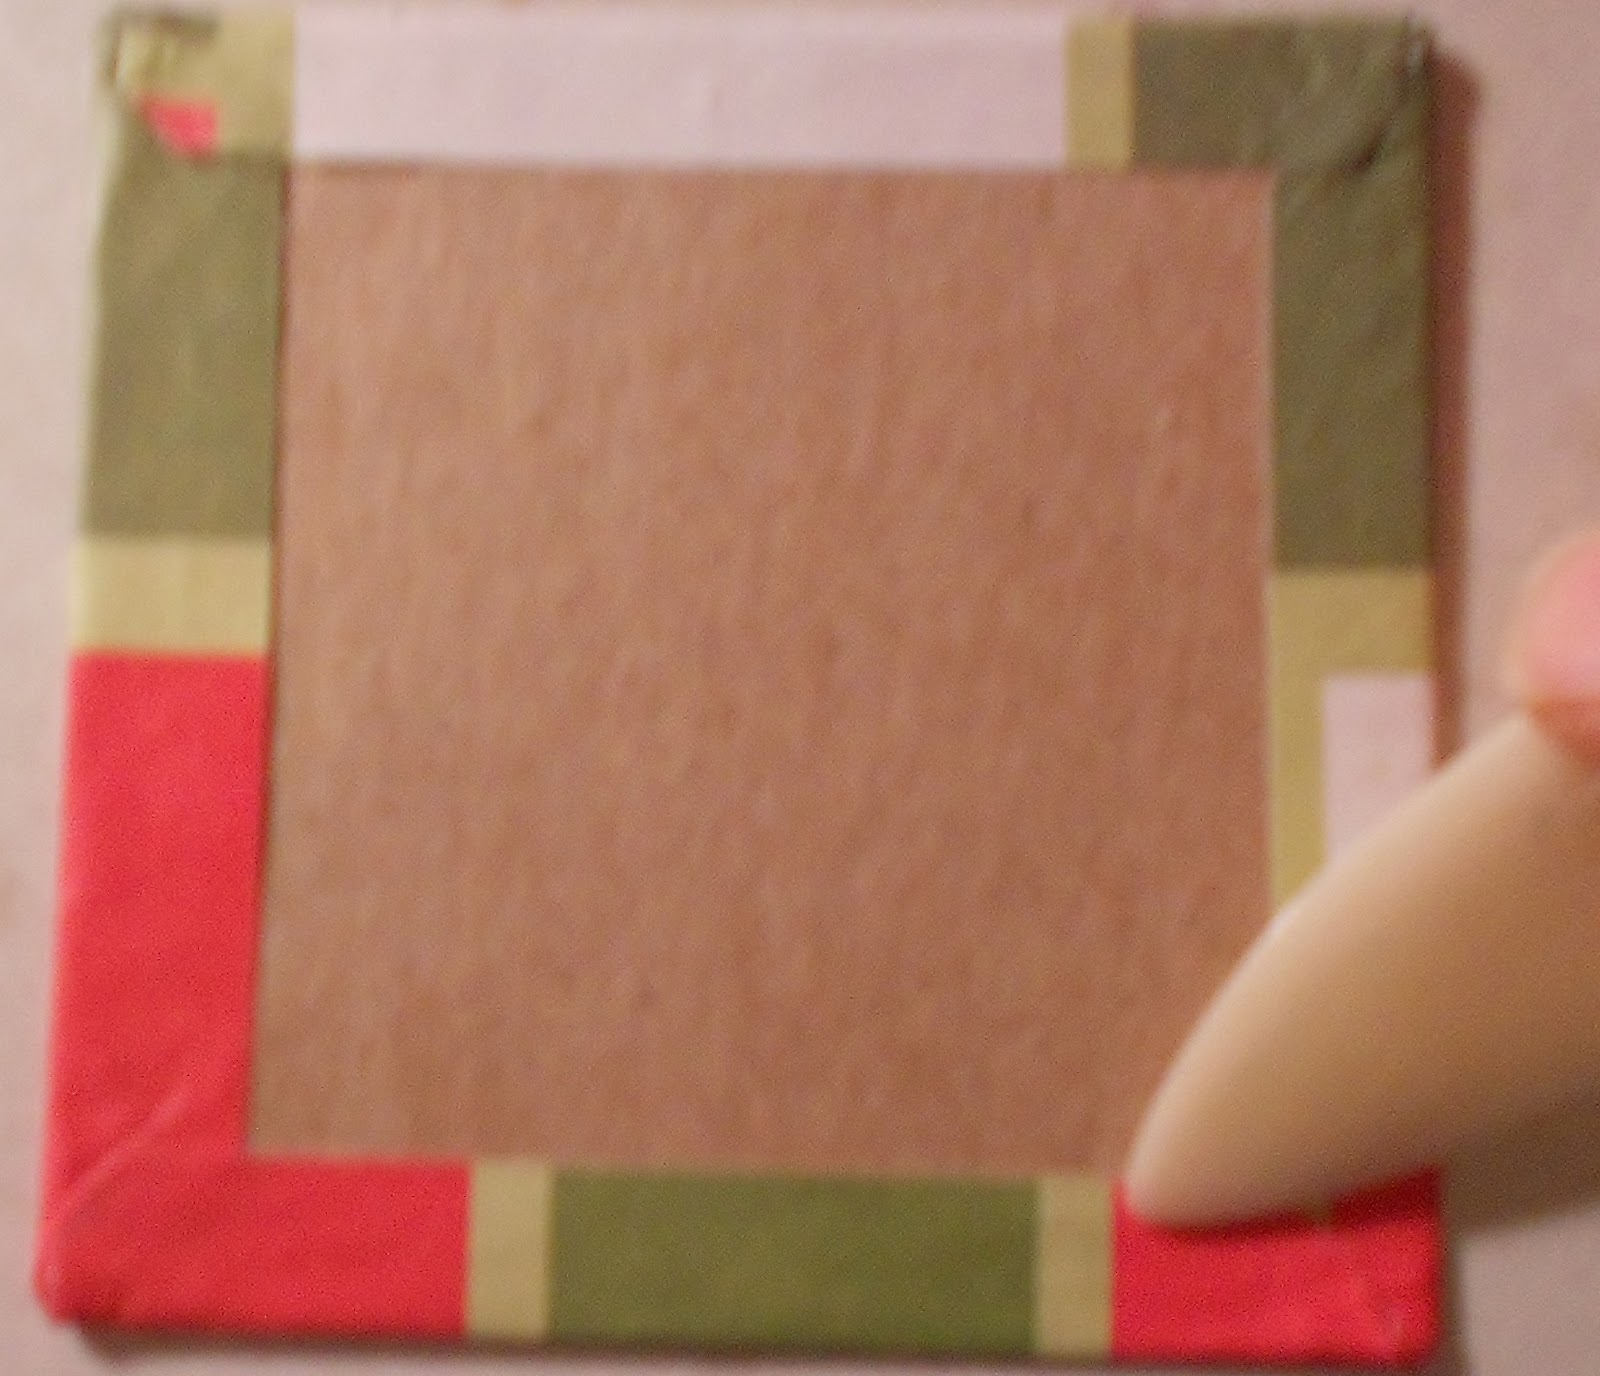
around mat board to train the cardstock to its final placement.

Step3:
Squeeze a
line of adhesive along the join line where the mat board and cardstock meet on
each flap. Use a foam brush to spread the adhesive across the entire surface of
each flap. Wrap one of the flaps around the mat board and smooth it down. Hold
it in place for a few seconds. Then wrap the opposite flap around the mat
board. Use the tip of the bone folder and fold in the little overhanging flap
of cardstock at each corner, just like folding in the sides when wrapping a
package.
Wrap the two
remaining flaps around the mat board. While the glue is still wet, run the side
of the bone folder along the edges of the covered mat board to square off the
edges. Repeat the steps to create the second cover for the maze book.


Album Assembly:
Step1:
Begin assembling
the book. Lay the two covers side by side about 1/2" apart on the work
surface with the inside facing up. Run a line of adhesive horizontally across
the center of each cover. Smooth out the adhesive slightly using the foam
brush or finger.


Step 2:
Lay a
12" piece of ribbon across the glue line so there is an equal amount of
ribbon on either side of the covers and smooth the ribbon down.

Step 3:
Isolate
one of the 2 outer flaps of the maze pages. Squeeze a spiral line of adhesive
onto the flap. Use the foam brush and spread the glue across the entire surface
of the flap, working from the center out to the edges. Center the flap on one
of the covers and press down. Apply adhesive to the remaining end flap of the
maze pages being careful to keep the adhesive off the subsequent pages and
adhere it to the remaining cover.


The book
is now assembled and ready for photos and embellishments.
* If you
would like to add the tab inserts to the pockets in your mini I cut mine 2”X31/2”. I use them
to journal and any other pictures or momentos of the day.
Cover
Album Standing with trim tied
Album standing show some of the pages

Pages 1 + 2

Pages 3 + 4

Pages 5 + 6

Pages 7 +8

Pages 9 +10

Pages 11 +12

Pages 13 +14

Pages 15 +16

Last page (16)

Show one of the tab/tag with a photo

Show a tab/tag without photo


Step 5:
Enjoy your
creation and share with others!
No comments:
Post a Comment